
One important step for all budget levels of post-production is the colour correction or grading tools you use to match the colour of different shots in your edit, to give a consistent look and feel. You may already be doing basic colour grading without really thinking of it as a separate process in your edit, or you may be sending off your edited timeline as an Edit Decision List (EDL) to a finishing suite to have it professionally graded. How much time you can spend on grading will depend on your budget, but if you can perform more tasks in less time with better and cheaper tools, then perhaps you should be looking at your workflow?
Colour grading is essential to give a consistent match between shots in any production from music videos to dramas and documentaries. In its primary form it’s called colour correction because you’re usually correcting for mistakes in the filmmaking process – fixing the white balance of some shots or correcting for the overall exposure level or contrast. You’re primarily trying to fix mistakes first, to stop any one shot in a sequence from jumping out at the audience and shouting ‘look at me...don’t I look out of place!’ After primary correction, which may include creating your ‘look’, comes the more selective secondary correction, followed typically by noise reduction or more radical compositing or effects.It’s common to use primary colour correction to first bring all your clips to a more neutral state whilst trying to maintain the dynamic range – i.e. trying to retain the sky and the shadow detail, before then starting to build the particular ‘look’ you want for your video. Most modern NLE’s give you plenty of plug-ins and filters for doing primary colour correction such as the classic 3-way colour corrector built-in to Adobe Premier Pro and Final Cut Pro (FCP). This filter allows you to adjust the brightness levels and the colour balance of the shadows, mid-tones and highlights all at the same time. In many cases this is enough to fix the white balance and improve the contrast of a problematic video clip and is as far as many people need or want to go with the whole colour grading process.
In 2011 I was involved with grading a low-budget horror feature and I needed to add the trademark intense blue eyes to Rutger Hauer in the opening scenes and to intensify the eye colour of the leading man throughout the film, as even with contact lenses the eyes just weren’t right. At the time I wanted to use Davinci Resolve from Blackmagic Design for the grade as I had heard good things about its tracking features, but I couldn’t justify the cost of the software and extra hardware needed to run it. So I ended up using my trusty FCP machine with mainly the Nattress S-gamma plug-ins and the 3-way colour corrector for primary correction and then manually key framed an elliptical image mask that covered both eyes and used the 3-way colour corrector to limit the colour effect to the original blue eye colour and then push the saturation and brightness. It worked fairly well although it took a long time to track all the shots by hand!
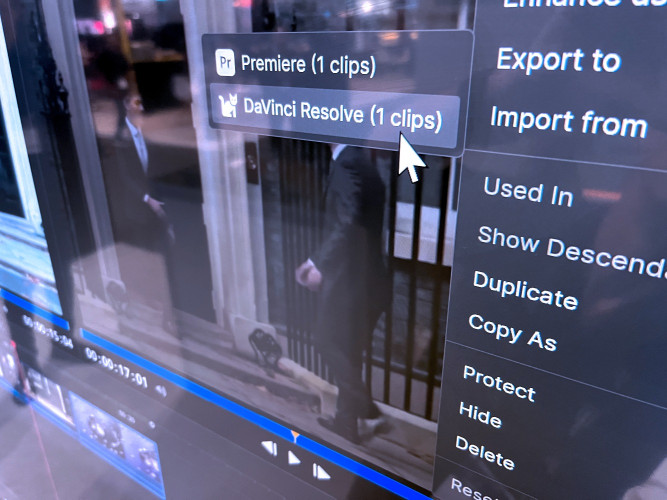
Last year brought the announcement of the Blackmagic design cinema camera (BMCC) that ships with a full copy of Davinci Resolve software bundled with it. This made me re-visit my choice in grading software and consider Resolve yet again – especially when they started shipping a free version of the software in a ‘Lite’ format for both MAC and PC. I tested out the free version on a few machines in our office and found it worked ok on my old 8core MAC.
So what can you do with Resolve that you can’t do easily or quickly in FCP?
Resolve 9.0 has got a very similar 3-way colour corrector for primary colour correction although you need to switch into its ‘log’ mode for the familiar shadow/midtone/highlight control otherwise its lift, gamma and gain controls instead with colour wheels or an alternative bars interface. Resolve adds a curves palette and if you’re familiar with using curves in Adobe Photoshop then you will be able to quickly use these to manipulate your primary grade and add S-shaped curves which would need specialist filters in FCP.
Resolve is node based like Apple Color and has a mechanism to allow you to save your grades, which can be applied to other clips or re-use favourites in other projects. Nodes allow you to add a series of changes that form your grade – a bit like stacking filters in FCP – but you see helpful thumbnails of how each node is affecting the grade. You can also buy pre-made ‘looks’ as groups of nodes in a similar way to Magic Bullet Looks or GenArts Sapphire Edge plugins for FCP to give you a quick way to finish after primary grading. Shots from the same physical video file are also linked so that when you modify the grade on one shot, it is applied to all linked shots at the same time – not always what you want (and can be turned off) but this can save you from copying and pasting filters in FCP.
For secondary correction you may want to adjust only certain parts of your shot, based on the luminance levels (e.g. the sky) or based on the colour range of an object in the scene (e.g. a red jacket), without affecting the rest of the shot. These types of corrections can be achieved within FCP but take patience to select the correct colour and luma ranges that limit the effect of the change your making. You can stack several 3-way colour correction filters on a clip in FCP – one for your primary and then one or more for your secondary and use the ‘limit effect’ control to mask out part of the scene, but you can end up with a fairly horrible mask if your not careful. Resolve uses a Qualifier panels to select the hue, saturation and luma (HSL) ranges using an eyedropper tool and shows you an intuitive mask to see exactly what portions of your image you will be working on for the secondary correction.
If you have objects that cannot be ‘keyed’ directly by their colour or luminance values, say you need to lighten only the face of a person in a shot, then you need to build a mask shape in FCP using a multi-point garbage matt or similar and then apply this to another layer of a duplicate clip before applying correction – all complexity that can easily go wrong. In Resolve you can use the windows palette to quickly build a suitable mask from ‘power’ shapes like circle, square, curve or custom shape – all of which can be combined into a single mask if needed, then adjusted as often as necessary to easily apply the grade to just the masked area.
If your masked object moves in the frame over time, then the complexity increases, as you need to track the object so that the colour correction follows the movement. This is where Resolve comes into its own with a fantastic built in surface tracker similar to Mocha in After Effects that can automatically track moving objects. In FCP you would have to manually key-frame the mask or export via Motion or After Effects and do the mask tracking separately. With Davinci Resolve you get a lot of power for primary and secondary correction that makes it fairly painless to achieve good-looking results quickly. It’s certainly on my list of new tools as long as I can squeeze in an extra graphics card with lots of CUDA processing cores to make it work faster.
Mark Brindle is a award winning filmmaker who runs a video production and kit rental company in north Devon. You can contact Mark via his website www.maniacfilms.com and you can learn more about digital filmmaking in his new Handbook available from Quercus press.